Step-by-Step Pumpkin Carving for Kids: A Family Guide + Free Templates
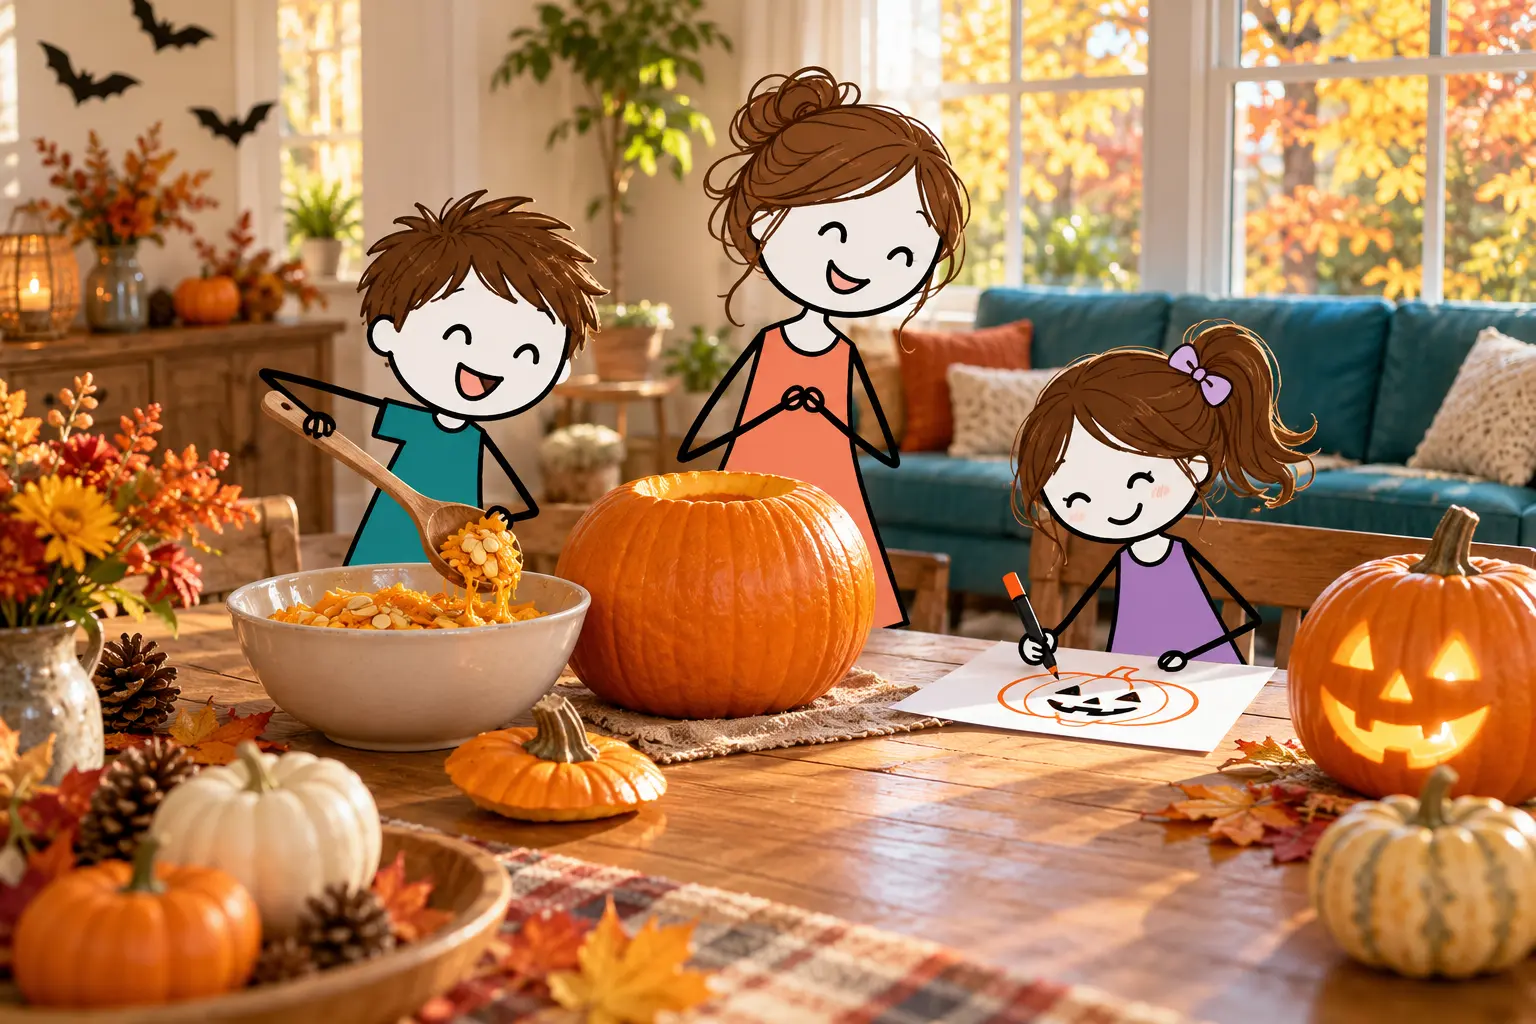
Let your child design the face while an adult handles every cut. Seven simple steps, a no-carve option and a free four-page pumpkin face template pack.
By Buybili Editorial Team Published October 3, 2026 5 min read
Let your child become the pumpkin’s creative director! They choose the expression, sketch the face and give the finished jack-o’-lantern a name. An adult handles every cutting step.
- Time
- About 30–45 minutes.
- Best for
- A family activity with children roughly ages 3–10.
- Adult role
- All cutting, carving and handling of sharp tools.
What You Need
- One firm pumpkin with a stable base
- Paper and a washable marker
- A large spoon or scoop
- A bowl for the pumpkin pulp
- A washable table covering
- A pumpkin-carving tool for adult use only
- A battery-powered LED light with a secure battery compartment
Free Pumpkin Face Templates
Choose from three pumpkin faces, or draw your own with our four-page printable pack.
Print at 100% on US Letter, or choose Fit for A4. Children design; adults handle all carving.
Before You Start
Work on a stable, well-lit table. Wash and dry the pumpkin, and keep hands and tools dry. Keep children away from the cutting area whenever an adult is carving. Never use a real candle.
Pick Your Pumpkin
Choose a pumpkin that sits steadily on the table. Look for a firm pumpkin without soft or moldy areas.
Child’s job: Pick the pumpkin and decide whether its face will be happy, surprised or silly.
Draw a Simple Face
Sketch your design on paper first. Try two large eyes and a wide smile. Leave generous space between the features, then draw the chosen design onto the pumpkin.
Child’s job: Design the expression.
Adult’s job: Adjust any small or complicated details before carving.
Let an Adult Make the Opening
An adult cuts an access opening using a suitable pumpkin-carving tool according to its instructions. Children step back from the table during this step.
Child’s job: Watch from a safe distance or decorate their paper design.
Scoop Out the Inside
Once the adult has put sharp tools away and checked the opening for sharp edges, scoop the pulp into a bowl with a large spoon. The adult finishes any difficult areas.
Child’s job: Help with scooping if comfortable.
Prefer not to touch the pulp? Let the child stay in charge of the design instead.
Let an Adult Carve the Face
Children move away from the cutting area again. The adult carefully carves the marked features, following the tool’s instructions. Stop if the pumpkin slips or a tool becomes stuck.
Child’s job: Continue coloring the paper design while the adult works.
Light It Up
After putting all sharp tools away, an adult places a battery-powered LED light inside. Choose a light with a securely fastened battery compartment and keep loose batteries away from children.
Child’s job: Choose a display spot with the adult and name the pumpkin.
Celebrate Your Creation
Take a family photo with your finished jack-o’-lantern. Ask: “What is your pumpkin’s name?” “What made you choose that face?” “What would you change next time?” Display it in a stable place away from walkways. An adult should check it regularly and discard it when it becomes soft or moldy.
More Halloween fun
Looking for quick games too? Try our 15 Easy Halloween Activities for Kids, with three free printable games.
Safety guidance reviewed with resources from the American Academy of Pediatrics. Halloween safety tips